How to Draw Sap From a Tree

In my previous post, I discussed the basics of getting started with your own maple sugaring operation. In this post, I wanted to show the step-by-step process of tapping trees and collecting sap.
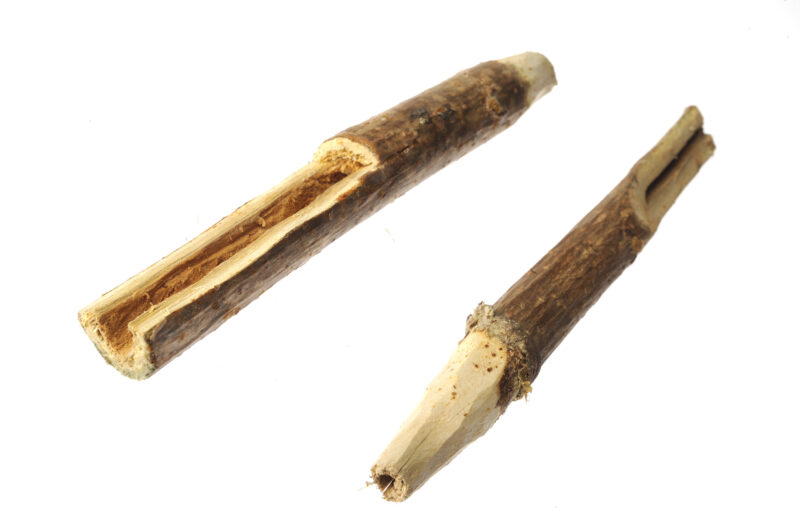
The tradition of tapping trees for syrup and sugar dates back to before the first settlers arrived. It was Native Americans who discovered that trees could be tapped for sugar. They originated the techniques of using wooden spiles to drain sap from trees and dropping heated rocks into troughs to boil off the water. Native Americans taught their techniques to the Pilgrims and early settlers as they arrived. Reportedly, maple syrup was on the menu at the first Thanksgiving in 1621.
After 400 years, the process hasn't changed much. We now use steel vats and power drills but the basic method of poking holes in trees, inserting a spout, collecting the sap and boiling it down is the same.
Drilling and Tapping
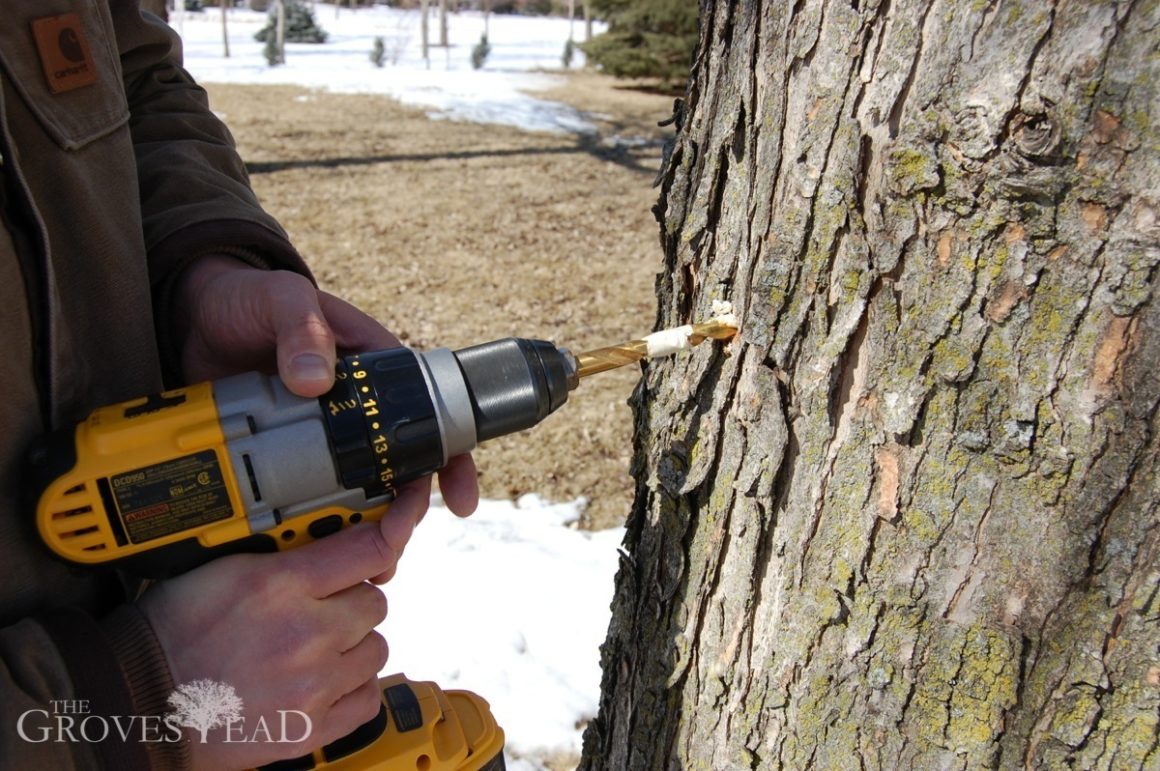
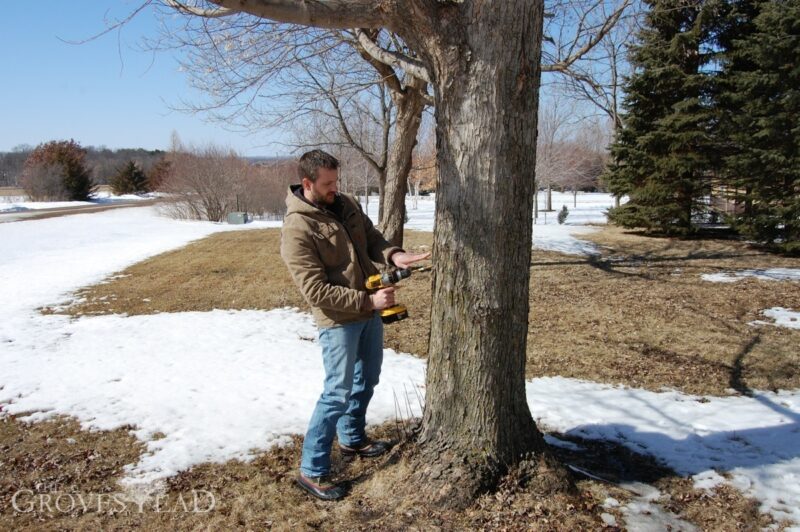
The first step after you have identified a tree is to drill the hole. It doesn't matter much how high off the ground you tap, except that you will have the most sap flowing from the trunk of the tree upward. I always try to place the tap about waist high. Some people say to tap on the South side because its sunny. Others say to tap on the North side because "the pressure builds up there", whatever that means. I have never noticed a difference in any of the sides. I always try to guess where the tree needs the most sap and place the tap there. For example, if the trunk splits I drill under the healthier of the trunks. But honestly I can't say that's a guarantee either.
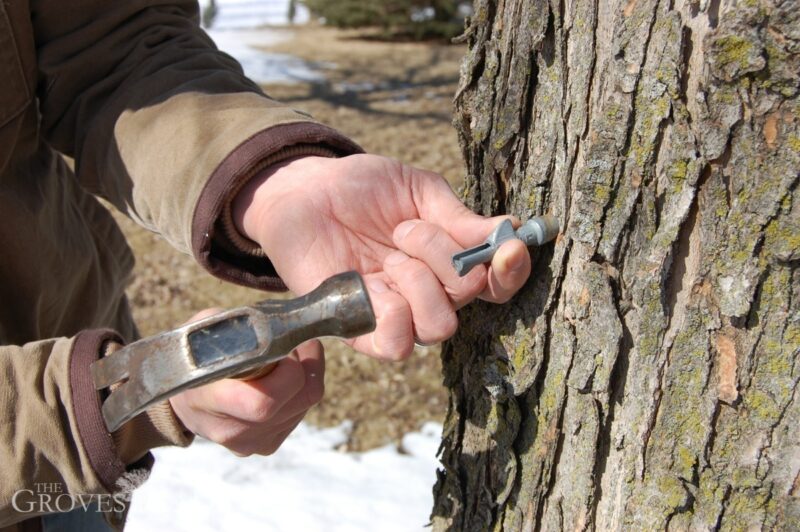
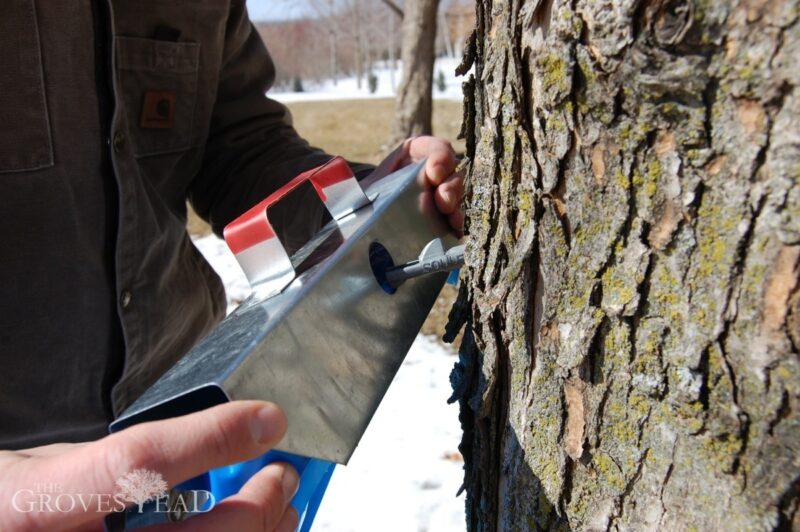
When you drill the hole, angle the drill slightly upward (but not too steep or the sack won't hang correctly), and drill about 2 inches deep.
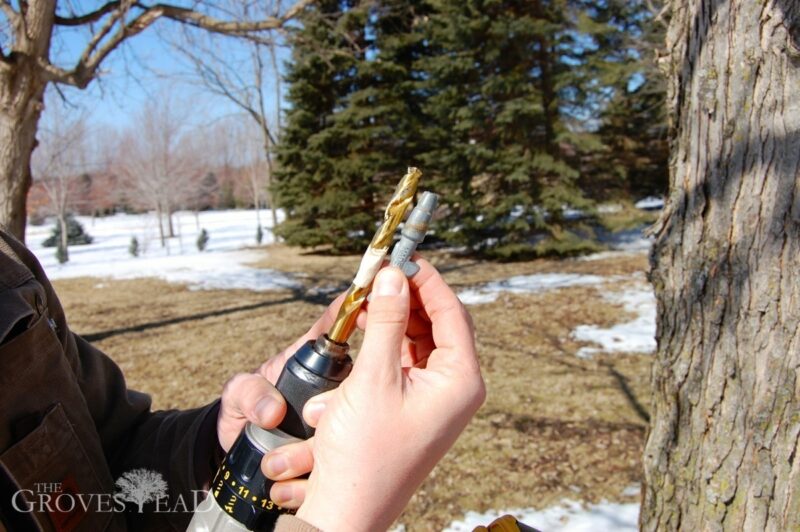

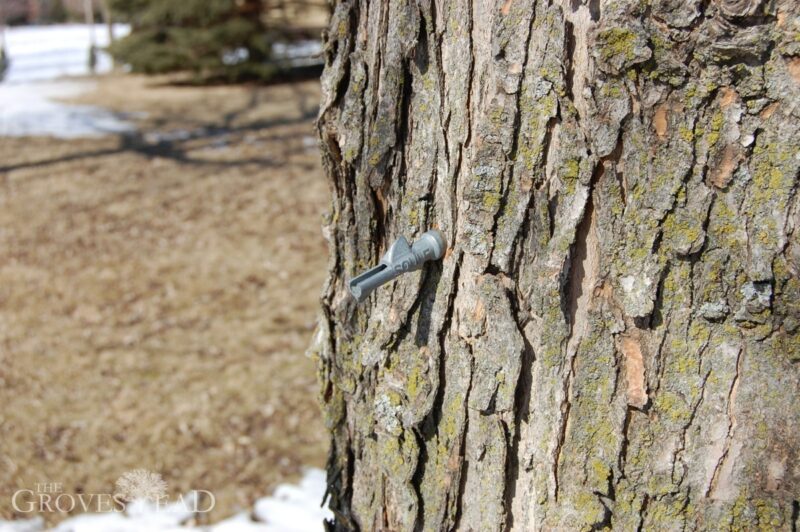
Next set the spout in place and hammer in. It needs to hold over 30 pounds, so be sure to tap it in far enough.
Hanging the buckets (or sacks)
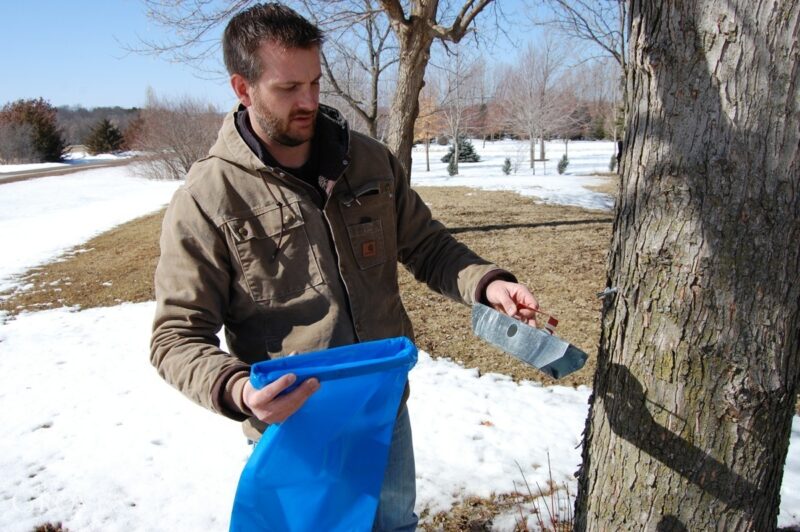
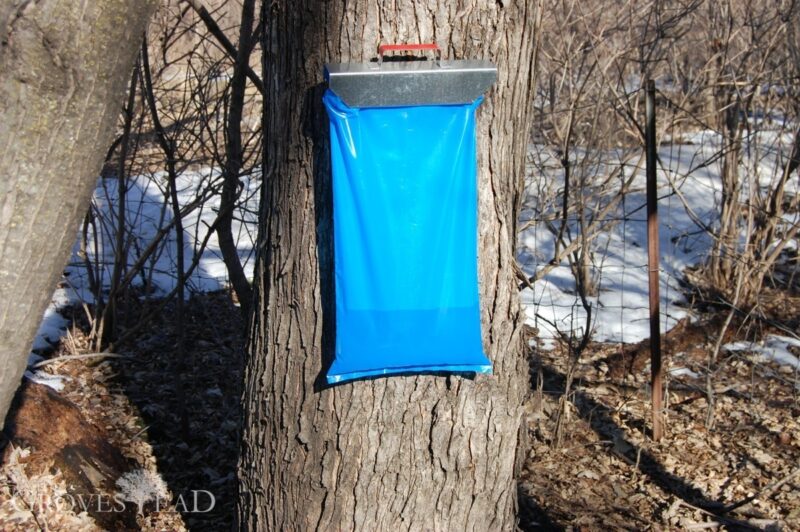
Next step is to add your sap sacks. I like using sacks instead of buckets because they hold a ton of sap (4 gallons) and don't take up any storage space. The assembly is simple: the bag is wrapped around an inner rim piece, then the rim is slid into the holder.
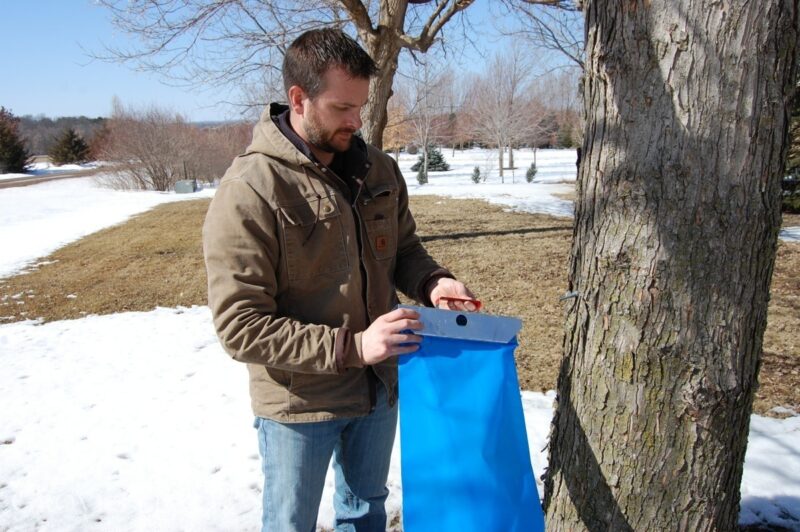
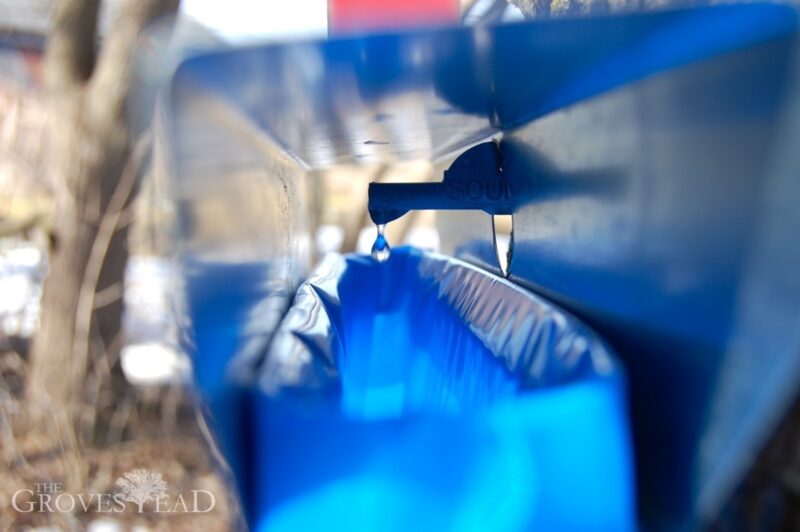
Finally the sack is hung on the spout.
Make sure the sap is flowing where its supposed to.
Collecting the sap
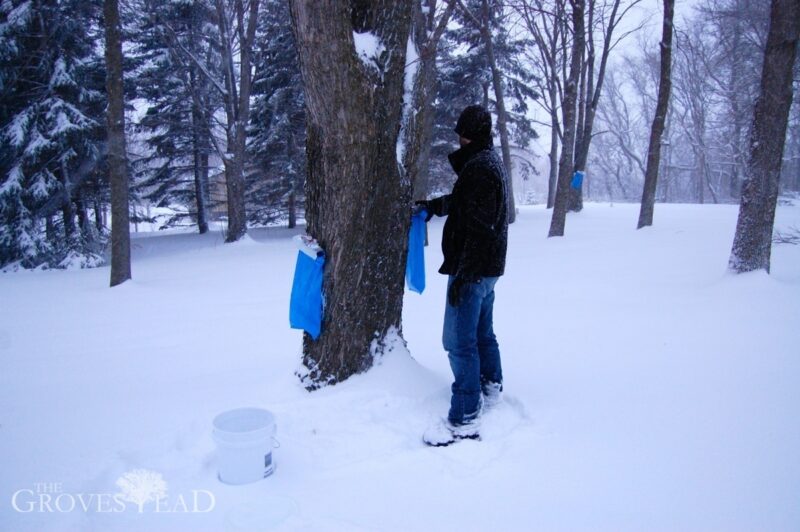
After the trees are tapped and the bags are hung, it's time to wait. It can take take several days for the bags to fill with sap.
If the temperature drops, the sap may stop flowing altogether. If the days are warm and sunny, you might encounter a "run", where a significant amount of sap is collected over a short period. This year it took about 2 weeks to collect the first 40 gallons of sap, but the next 50 gallons were collected in 2 days! The trick is not to be gone on vacation during a sap run.
Once a day I check all my taps and pour off any bags that are over half full. I store up the five-gallon buckets in our garage until I have enough to spend a day evaporating (usually 20 gallons).
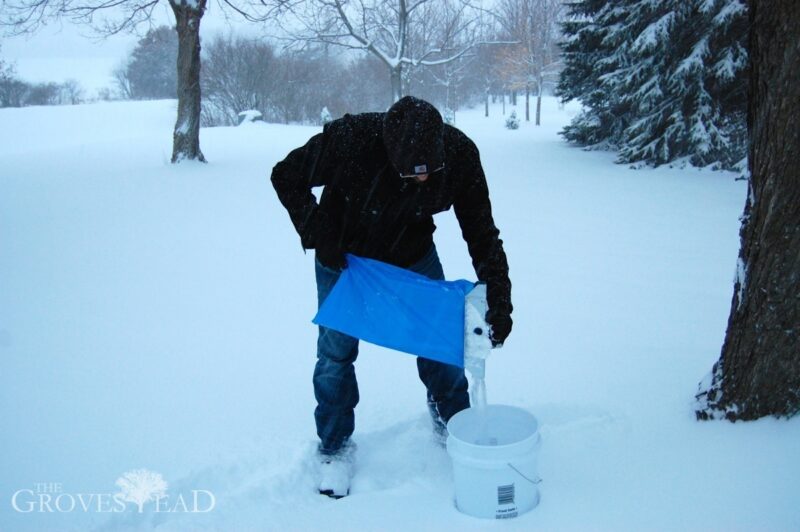
Sap runs always seem to catch me off guard and I find myself running to the hardware store to buy extra buckets. But eventually the season comes to an abrupt end and all that running around and hauling buckets is done, until next year.
This year we were in the middle of a run, and we had run out of buckets. We had 60 gallons stored and no time to evaporate. Then I happened to taste the sap from one of the trees and could tell it was changing flavor. I went to all the other trees and tasted the same difference. It was "buddy" sap, a slightly earthy (some say bitter) flavor. I went back to the house and told Becca our storage dilemma was solved—the season was over. As abruptly as it started, the maple sugaring season had ended.
That covers tree tapping and sap collection. In my final post I will show how to use an evaporator to boil down all those gallons of sap into sweet, pure maple syrup.
![]()

Gather & Grow Events
Gather & Grow is our non-profit ministry dedicated to "Rebuilding the Family Economy."

Durable Trades is Now Available!
Our new book about sustainable, home-based, family-centered professions was just published!
Receive our Print Newsletter!
We publish a free quarterly newsletter to encourage Christian families and cover articles about farming, family, and faith.
You May Also Like
Source: https://www.thegrovestead.com/how-to-tap-a-tree/
0 Response to "How to Draw Sap From a Tree"
Postar um comentário